Getting started with icentra
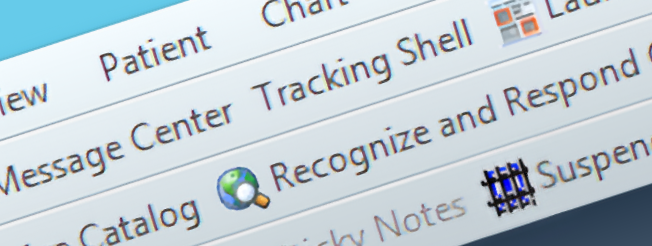
GETTING STARTED
First Steps
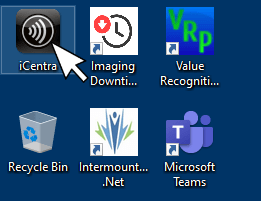
The first thing you should do is find the Powerchart app. Some of you may be used to charting in Firstnet, but all of your charting at the resort clinics will be done in Powerchart. Locate the iCentra folder on the desktop and double click it.
This opens a window displaying the contents of the iCentra folder. Inside this folder is the Powerchart app. Double click on it to launch.
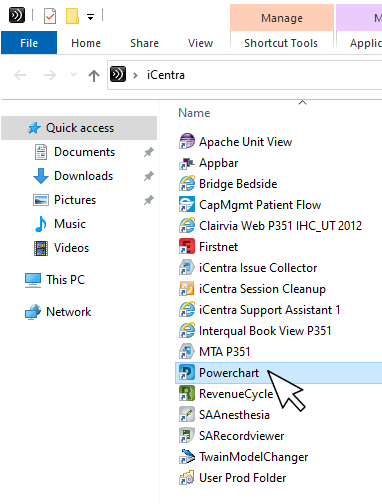
You may want to drag the Powerchart shortcut onto the desktop to make it easier to find and access in the future.
Provider Check-in
Now you need to check in as a provider. Click on the View tab at the top of the screen, and then Tracking Shell in the dropdown menu that results. Once you are inside the Tracking Shell, click on the Provider Check-in icon at the far left of the iCentra screen.
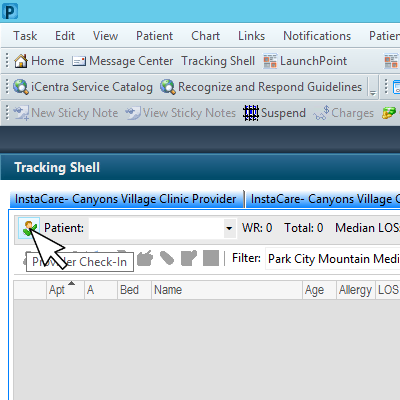
This brings up a dialogue window, where you’ll need to configure several things (you will only have to do this once). First, select the Display Name section and make sure your initials are correct. These are the initials that will appear in iCentra’s Tracking Shell when you sign up for a patient.

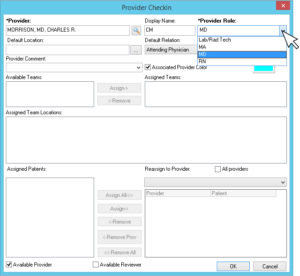
Next, under Provider Role, select MD.
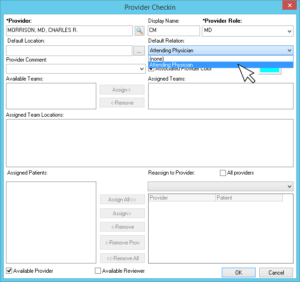
Then under Default Relation, select Attending Physician (this should be the only item available to select).
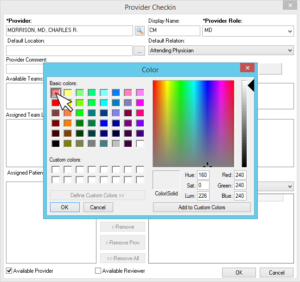
Click on Associated Provider Color to access the color selector. This is the color that will appear behind your initials on iCentra’s Tracking Shell.

Choose a color that is different from the other providers who are working that day.
Finally, click OK to close out the color selector dialogue.
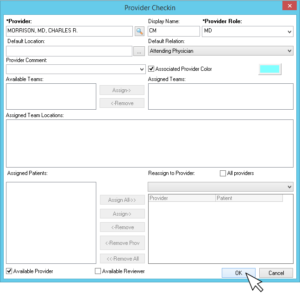
Click on OK to close out the Provider Checkin window and save your changes. Done! You’re all checked in.
NEXT >>